I can't believe Christmas is just around the corner! Here are a couple of quick & easy layouts for those Christmas photos-ones you already have & those you are yet to take. Layouts can be made without photos at hand. I cut out a piece of paper the size of the photo I will use. This helps me to see how the photo will look on the layout and it helps with the placement of embellishments.
On this layout there is ready made journal blocks, stickers and flowers. The photo is not matted but adhered to the shaped background page. The embellishments were adhered around the photo. Ta Da! Done in no time! It took longer to decide what to put on the layout then what it did to make it.
This "framed" layout is easier than it looks. The patterned paper has a patchwork strip look to it. I cut it to the width I wanted the frame to be. Cut the ends of the strips on an angle (like a mitred corner) and adhere to the background paper. I also cut strips of paper & used a border punch to decorate the edge then attached this to the frame strips. Once again I used ready made embellishments to save time.
Pages
WELCOME
Thanks for taking the time to have a read of my Heart & Soul blog. You are welcome to leave a comment & any tips about scrapbooking or anything at all really!
LIVE WELL, LAUGH OFTEN, LOVE MUCH.
Happy Scrapping from Susan.
LIVE WELL, LAUGH OFTEN, LOVE MUCH.
Happy Scrapping from Susan.
Wednesday, December 14, 2011
Saturday, November 26, 2011
Christmas Photo Shoots
Summer is only a few days away & so are lots of photo oppotunities with Christmas, holidays & celebrations. Try a few different sorts of shots this year as well as the usual posed ones. If you like to take a family shot for your Christmas cards & letters give the kids a pile of Christmas decorations & dress up bits & pieces & see what they come up with. Sometimes the spontaneous photos are the best ones-not always perfectly posed but lots of fun! I took the Christmas tree outside one year when my boys were teenagers & then the the camera up on the tripod with the automatic setting on. It took us about 20 shots before we took one with us all looking at the camera. All of the other shots had us tallking, laughing & being silly. It turned out to be a fun afternoon & we eneded up with some great photos & good memories. I don't worry too much if I don't get the "perfect" photo... if that is all I have I scrapbook it anyway & tell the story behind it.
This layout has photos of my son & grandson at the beach. I was sitting a little way up the shore & zoomed in on them . My grandson wasn't too sure about going in the water & as soon as he had a splash & a play, he was out of there. The photos were nice natural shots & I really like the photo of them walking down to the water, hand in hand. It is a different angle where you can't see there faces but it still shows emotion. The layout is quite simple with a plain backing & the patterned sheet is distressed & inked. A few readymade embellishments finishes it off nicely.
These flowers are off a layout I made but their colours weren't quite right. I used mist sprays to change the colour of the paper flowers to help them match in better with the colours of the layout. The smaller ones were a light lilac colour & I gave them a light spray with a silvery black colour to darken them slightly. Just because some embelllishments don't suit what you want still take a second look at them & see if they can be altered to fit in. Flat flowers can be inked, stamped & rubons used on them. Other flowers can be scrunched, layered, pulled apart or flattened. Flowers aren't the only embellishments that you can alter. Take a look at some of your older embellishments that have been sitting around for awhile & see what you can do to revamp them..just have a play.
This layout has photos of my son & grandson at the beach. I was sitting a little way up the shore & zoomed in on them . My grandson wasn't too sure about going in the water & as soon as he had a splash & a play, he was out of there. The photos were nice natural shots & I really like the photo of them walking down to the water, hand in hand. It is a different angle where you can't see there faces but it still shows emotion. The layout is quite simple with a plain backing & the patterned sheet is distressed & inked. A few readymade embellishments finishes it off nicely.
These flowers are off a layout I made but their colours weren't quite right. I used mist sprays to change the colour of the paper flowers to help them match in better with the colours of the layout. The smaller ones were a light lilac colour & I gave them a light spray with a silvery black colour to darken them slightly. Just because some embelllishments don't suit what you want still take a second look at them & see if they can be altered to fit in. Flat flowers can be inked, stamped & rubons used on them. Other flowers can be scrunched, layered, pulled apart or flattened. Flowers aren't the only embellishments that you can alter. Take a look at some of your older embellishments that have been sitting around for awhile & see what you can do to revamp them..just have a play.
Monday, November 14, 2011
Christmas Bits
Here is a Christmas cluster as an embellishment on a Christmas layout. The rosette is made from a strip of paper with one edge punched. It was then folded back & forward concentina style & then had the ends taped together to form a circle. It was then "squshed"(squuezed & pushed!) into a flat circle. Cut out a circle of scrap card a bit smaller than the rosette & glue the rosette onto it. I used a hot glue gun because it is instant but you can use a good strong glue & put something on the top to hold it down until it dries. The other pieces in the cluster are from old Christmas decoration picks that I pulled apart. A good hint is to wait until the after Christmas sales & pick up little bits & pieces really cheap.
I am looking forward to making more tags for this Christmas. There is a bit of work in them but they are lots of fun & they make good embellisments for cards & scrapbooking as well as being a little gift all on their own! I am taking orders from the ones I have already done & the colours can be altered to suit what you want. (look at the "KIT" page for what I have) You can contact me by email or leave a comment.
This is an old Christmas graphic that I found and is wonderful for scrapbooking with all the older photos of Christmas' gone by. There are many graphic sites that have free downloads-just Google them & a list comes up.
Getting ready for all those Christmas photos. This is a ready made layout but I can also make it up as a kit so you can add your own touch to it.

I am looking forward to making more tags for this Christmas. There is a bit of work in them but they are lots of fun & they make good embellisments for cards & scrapbooking as well as being a little gift all on their own! I am taking orders from the ones I have already done & the colours can be altered to suit what you want. (look at the "KIT" page for what I have) You can contact me by email or leave a comment.
This is an old Christmas graphic that I found and is wonderful for scrapbooking with all the older photos of Christmas' gone by. There are many graphic sites that have free downloads-just Google them & a list comes up.
Getting ready for all those Christmas photos. This is a ready made layout but I can also make it up as a kit so you can add your own touch to it.
Thursday, November 10, 2011
Not So White
Believe it or not, these pages started off white! It's amazing what some mists, masks, mediums, stamps, inks & embossing powders can do. The holly in the corners of the background page below were drawn on freehand with "Smooch". The fine tip brush makes it easy to paint on/draw designs. You can always lightly draw or trace a design in pencil first before going over it.
Layers of masked mists, texture paint, more mists & embossing powder.
Masks, mists, reverse masks, inks & embossing powder.
Layers of masked mists, texture paint, more mists & embossing powder.
Masks, mists, reverse masks, inks & embossing powder.
You can do similar technique on plain card/paper & cut it down to make cards with.
It's fun to have a play & experiment with the products & tools that you have...you never know what you might come up with!
Sunday, October 30, 2011
Happy Halloween/Anniversary
Well it's nearly the end of October & only 8 weeks until Christmas. Where has the year gone. We are in the middle of renovating our house so that keeps us busy. October 31st sees the American tradition of Halloween-it seems to be coming more of a thing to do here in Australia.
More importantly it is David (Darling Husband) and my 30th wedding anniversary. Through no choice of his own, here is a man who is thoroughly versed in the art of Scrapbooking & all it entails!!LOL!
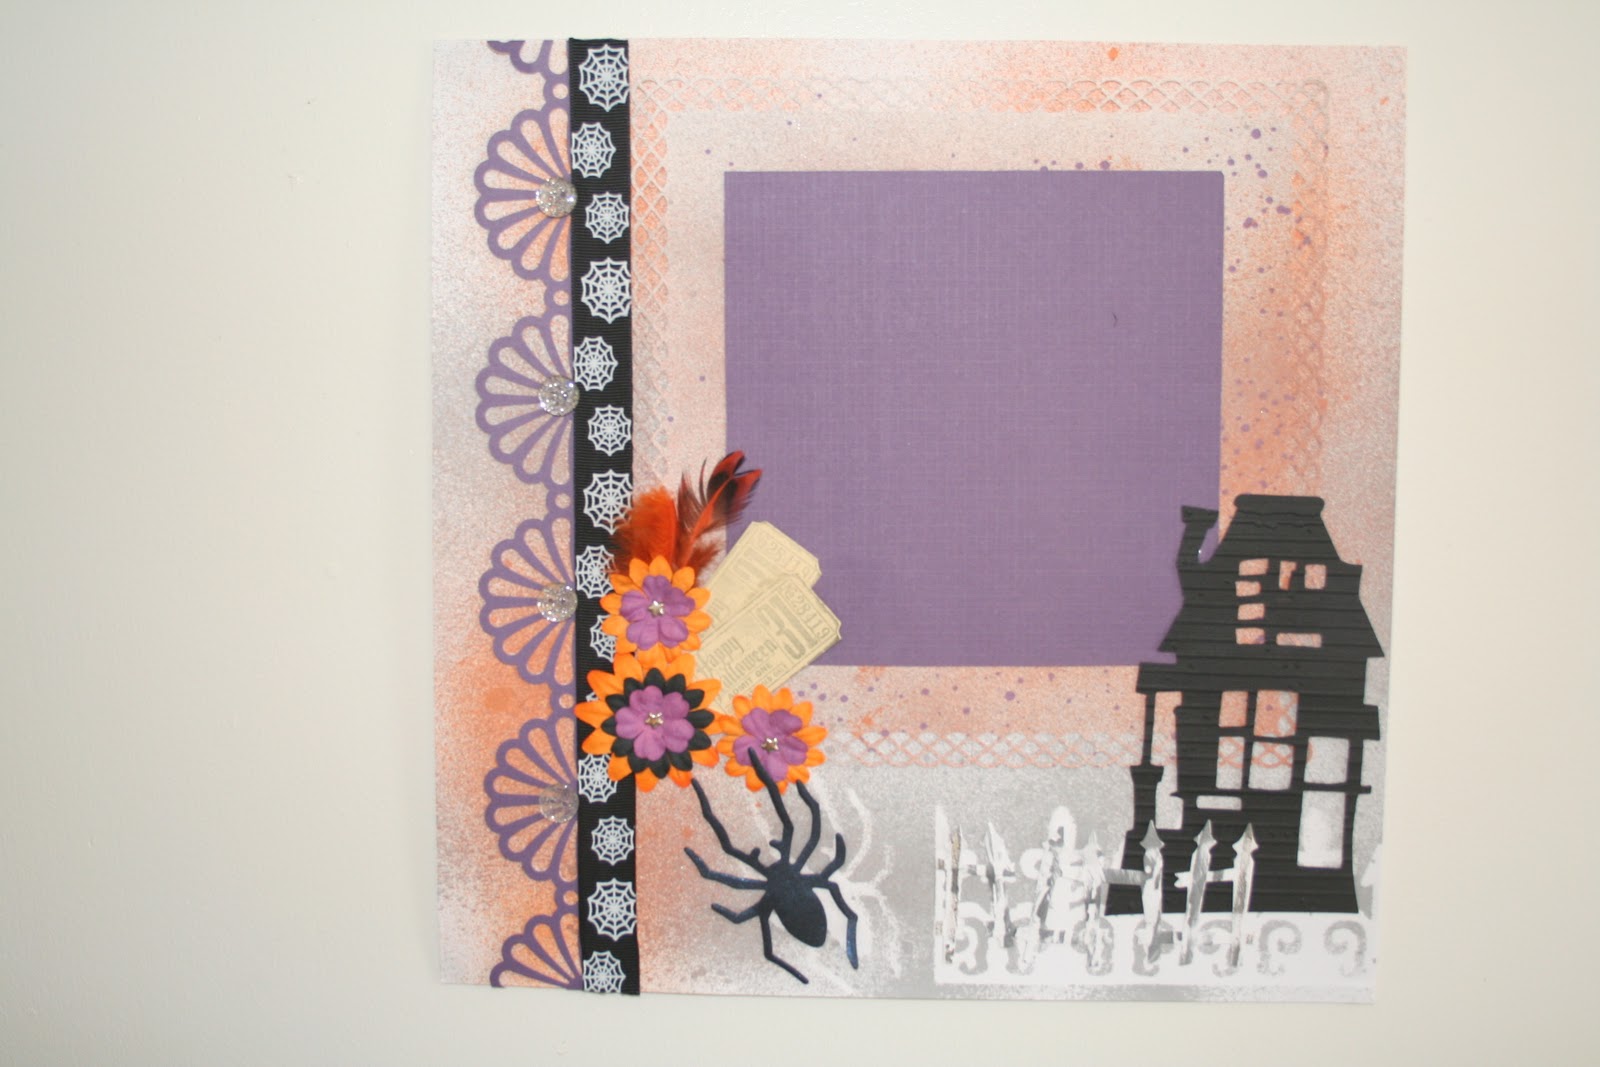
The layout below doesn't have any photos as it is a readymade kit I put together for fast & easy scrapbooking or for those who like the look of scrapbooking but either don't have the time or just want a few quick pages for an album.
More importantly it is David (Darling Husband) and my 30th wedding anniversary. Through no choice of his own, here is a man who is thoroughly versed in the art of Scrapbooking & all it entails!!LOL!
The layout below doesn't have any photos as it is a readymade kit I put together for fast & easy scrapbooking or for those who like the look of scrapbooking but either don't have the time or just want a few quick pages for an album.
As Christmas gets closer I hope to have a few more things to show you.
Sunday, October 16, 2011
Altered Book
This is an altered book I made for a CWA(Country Women's Association) cent sale. The plain mats are where the photos go.The acrylic word on the front says "Friends"
In the book there are pockets & mini books for photos or keepsakes.
Wednesday, October 5, 2011
Bookmark Tags
Here is the second lot of tags I made as boookmarks that can also be used in other projects.
I just gathered a pile of bits & pieces together & put the ones that went well together ino lots & played around from there. Lots of fun & pottering!
Subscribe to:
Posts (Atom)